

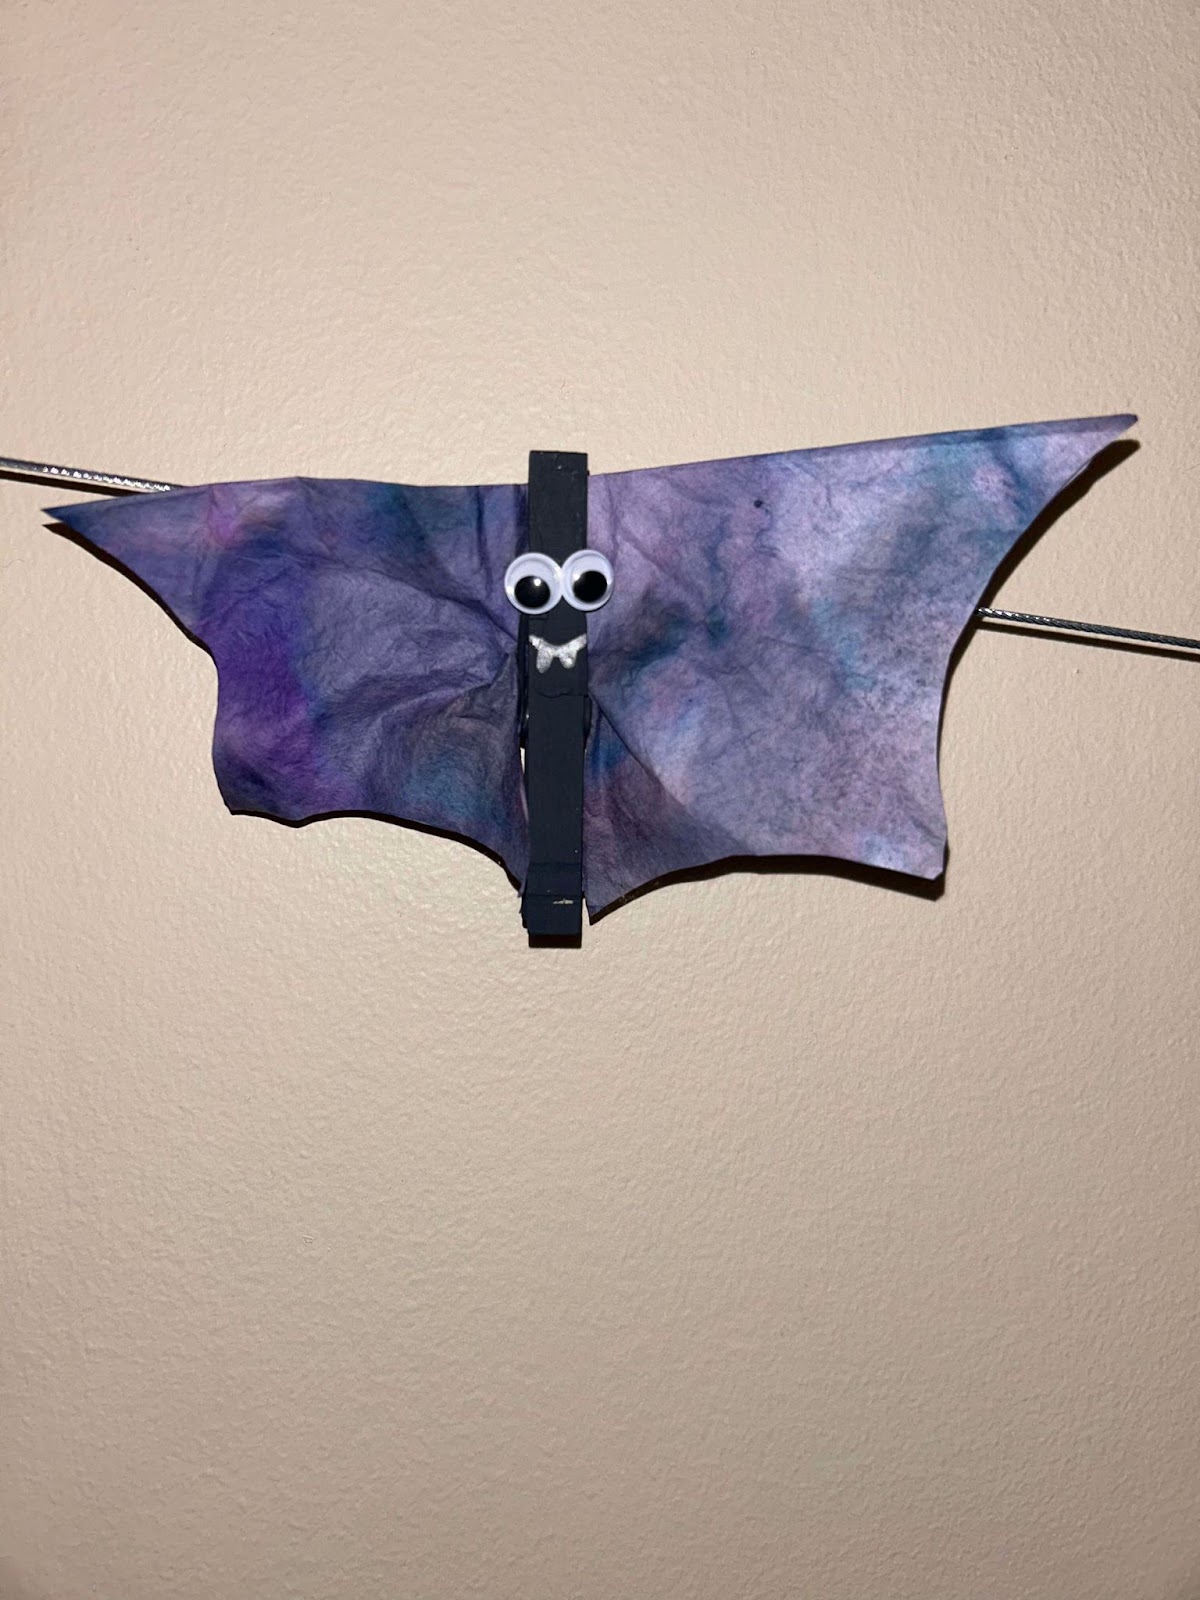
Coffee Filter Bats
One of my favorite crafts to make with my kiddos every spring is coffee filter butterflies. I remember making them myself when I was in elementary school, a classic!
I discovered how to update these from a butterfly into a bat, just in time for Halloween!
The materials you will need are:
-coffee filters
-spray bottle with water
-washable markers
-clothespins
-black paint
-googly eyes
The first step is to let your kiddos color all over the coffee filter. I recommend grays, blacks, and some purple.
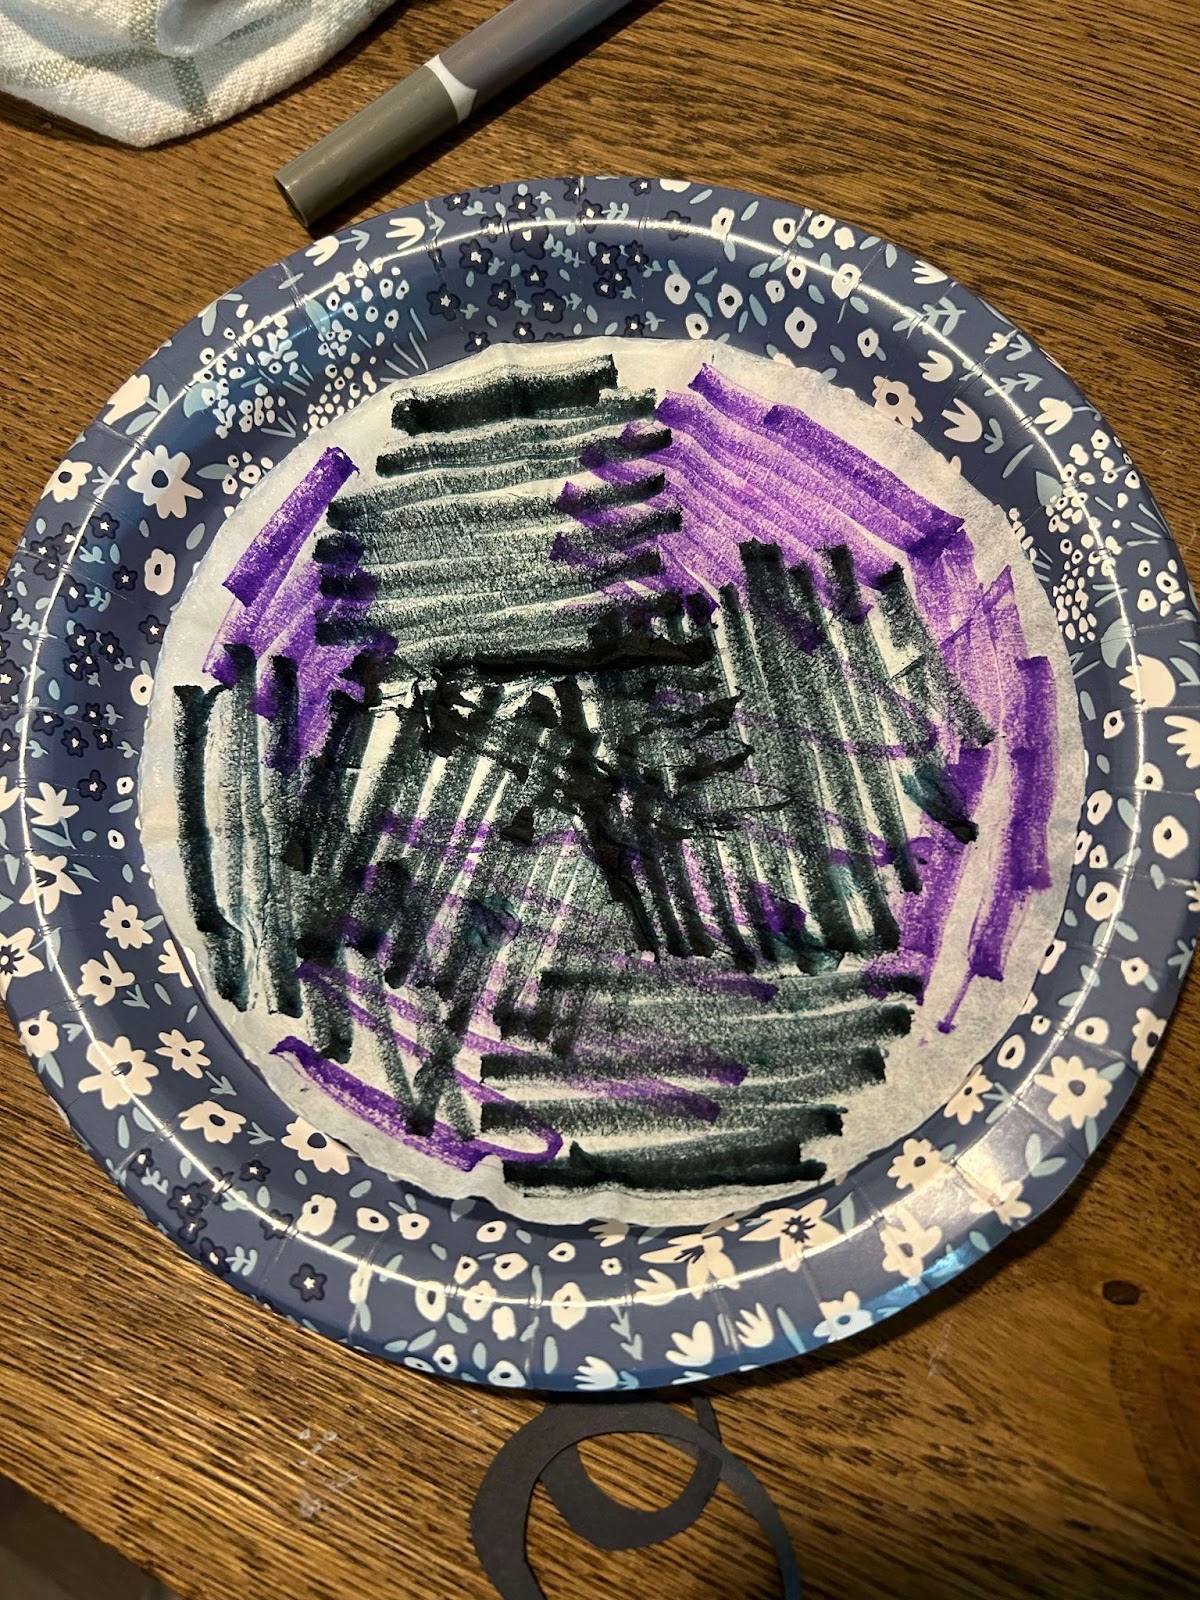
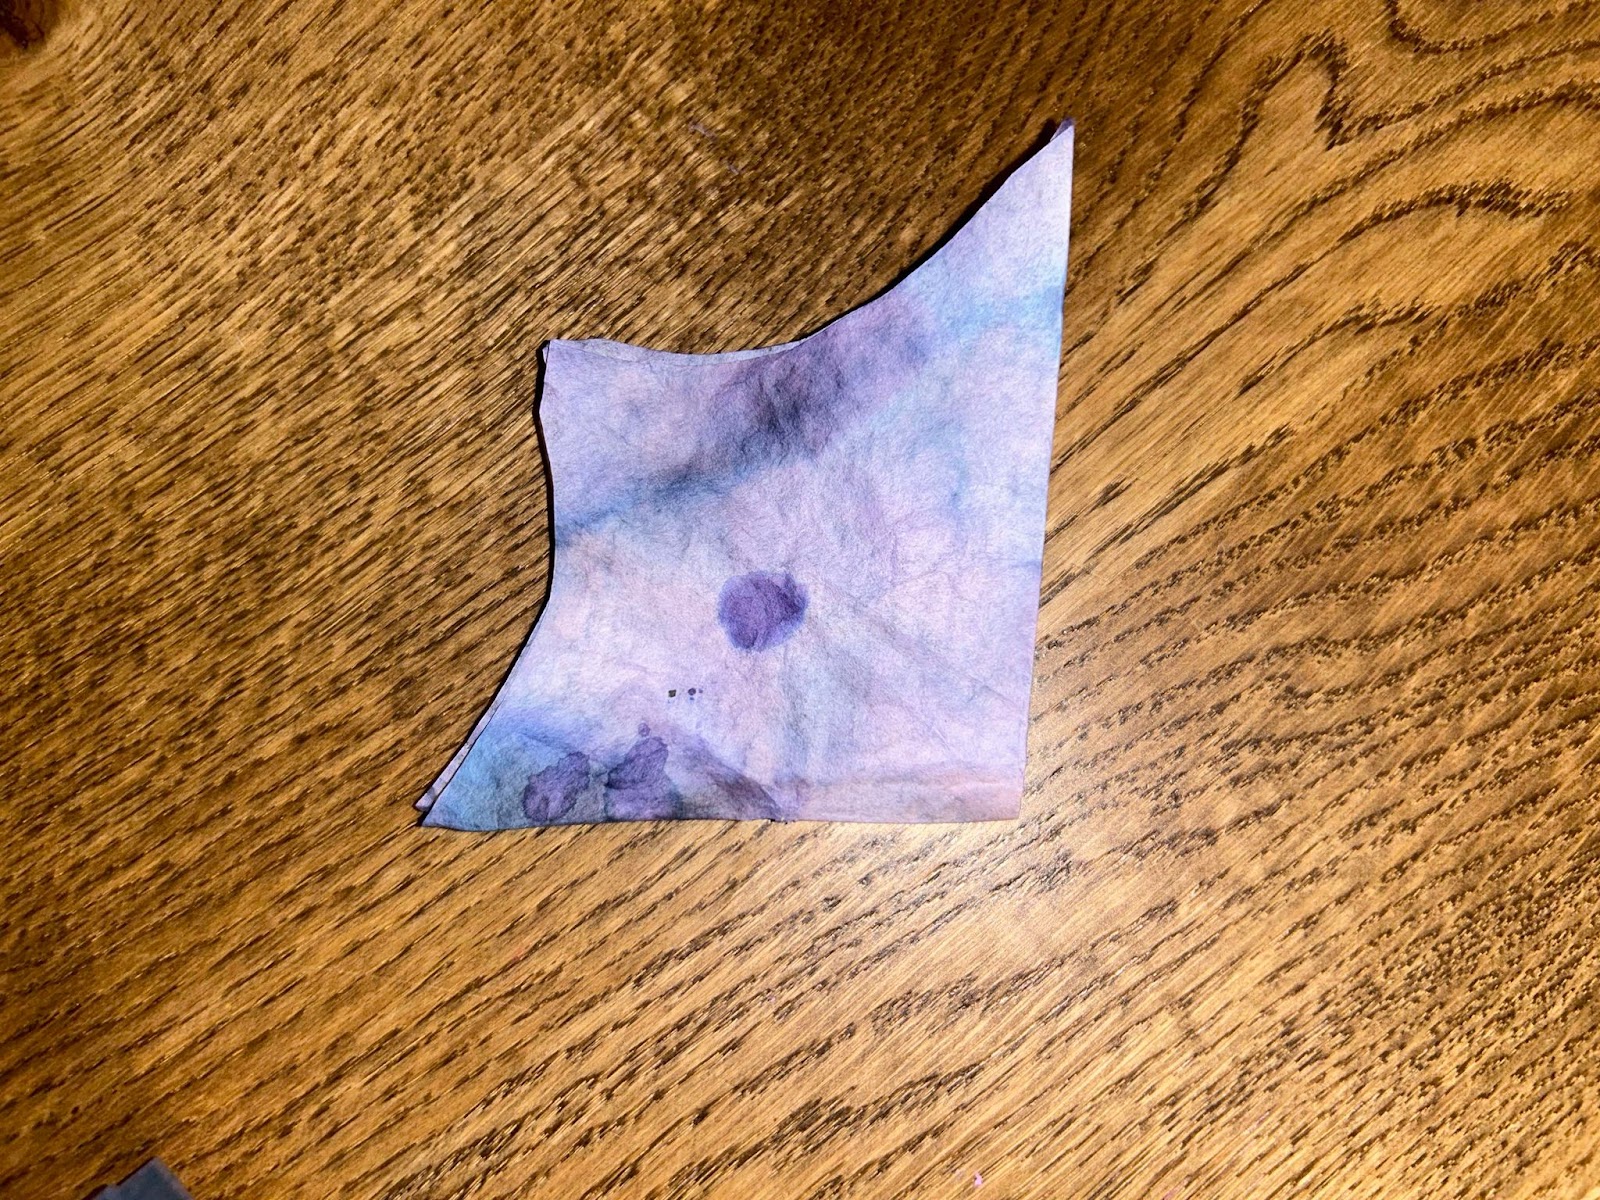
Once they’ve covered the majority of the filter, use a spray bottle and spray the filter a few times. I recommend putting the filter on a paper plate to prevent the marker from smearing on your table or counter (although it is easily washable).

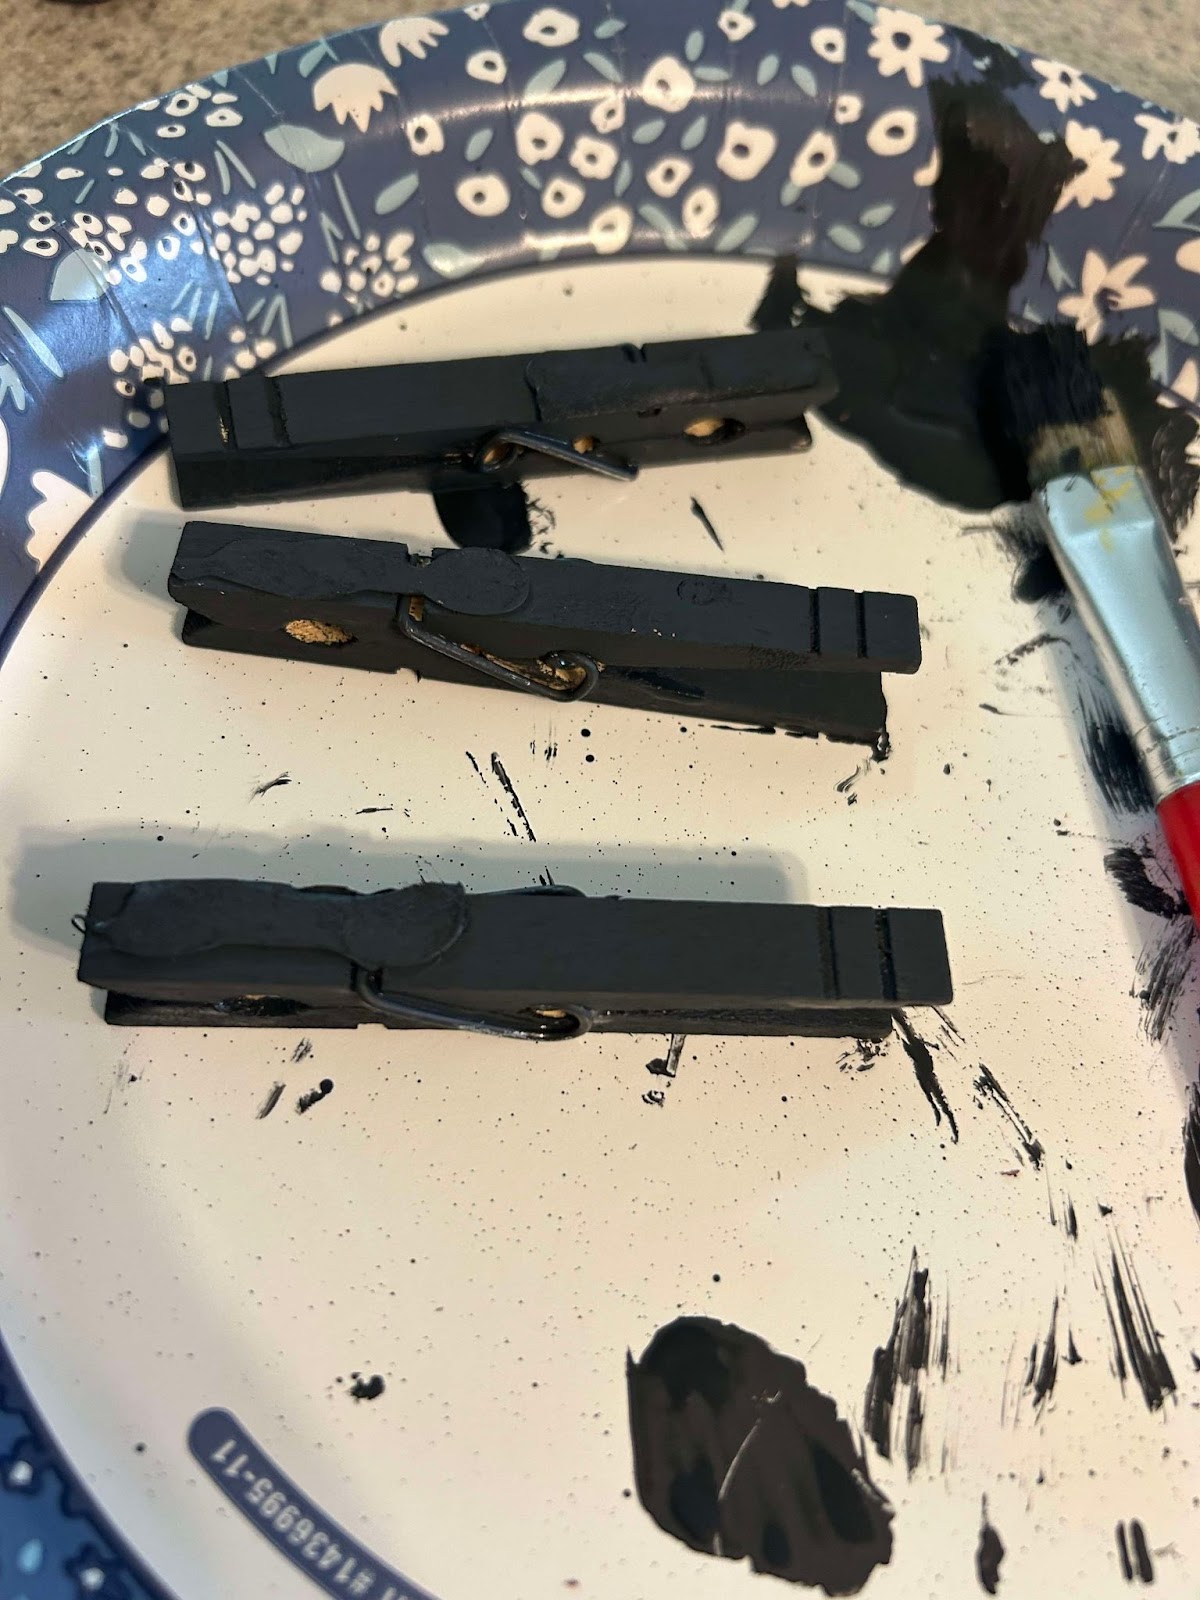
Then let the filter dry for a few hours. Meanwhile, paint a few clothespins black and also allow them to dry.
Once everything is dry- it’s time to assemble!
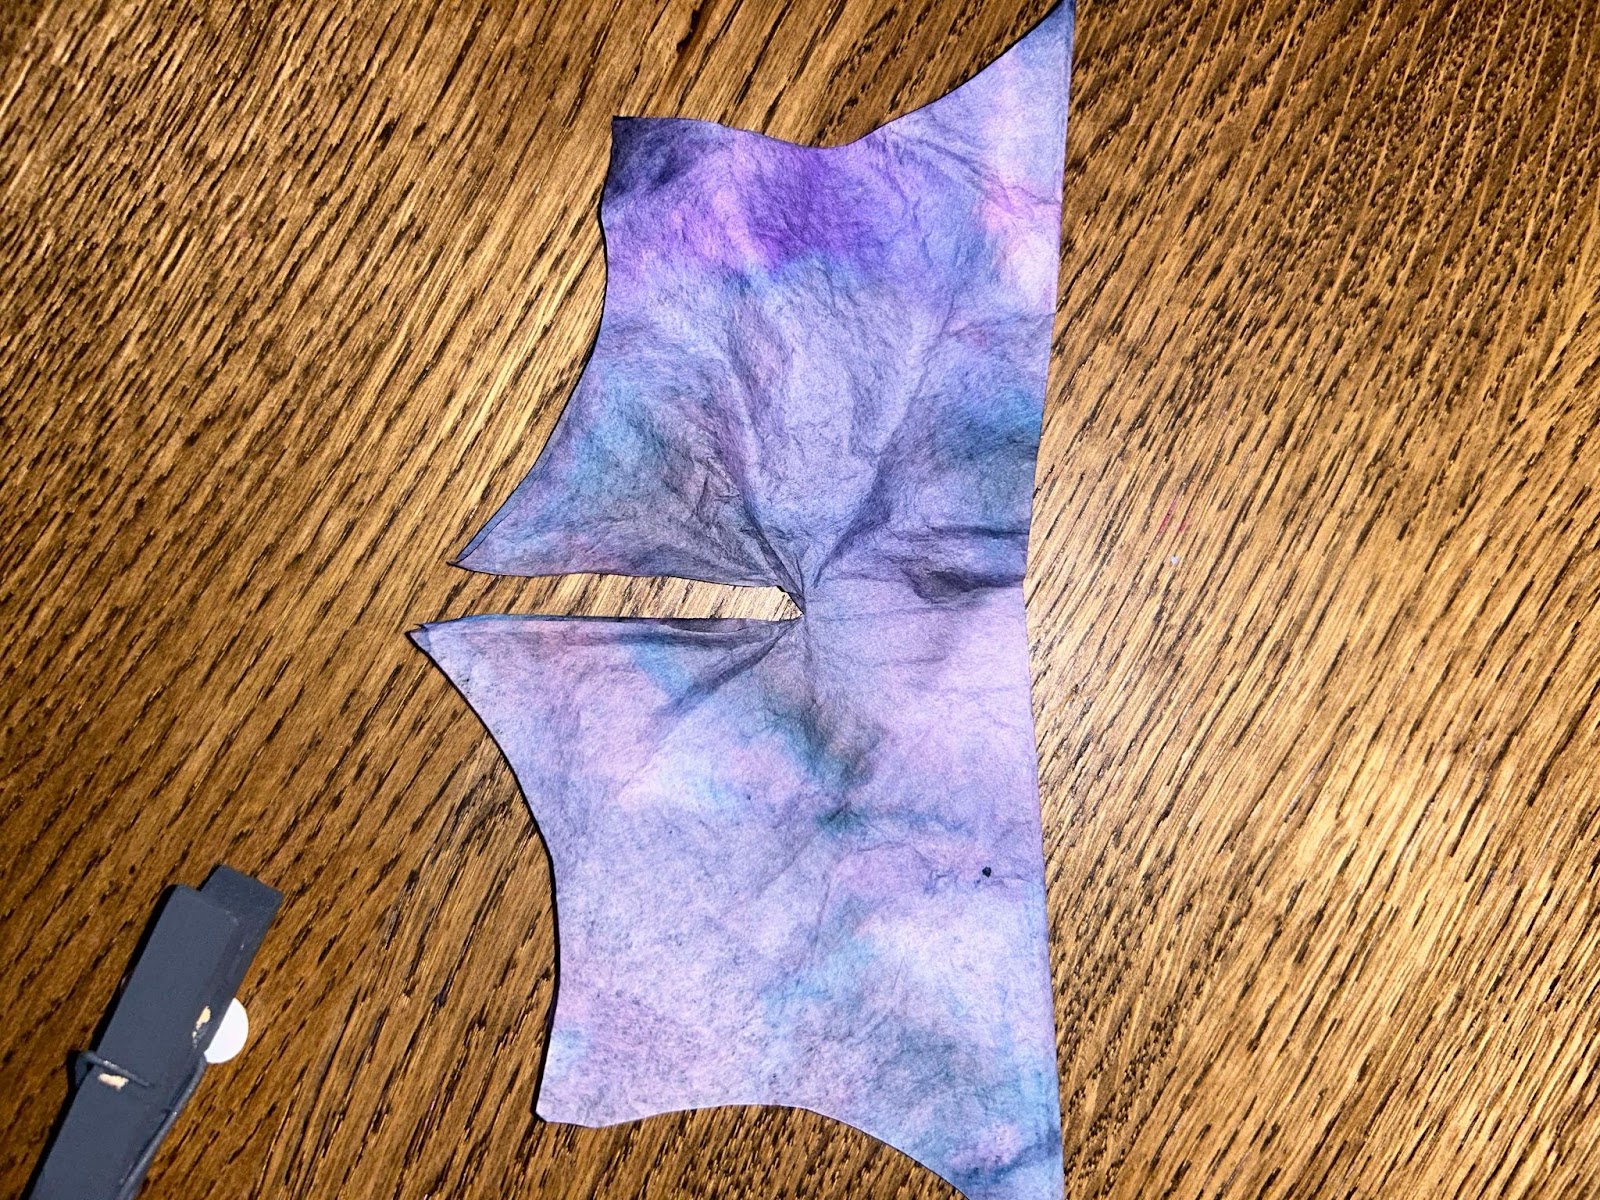
Fold the filter in half, then in half again so that it looks like a triangle. Cut two semi-circle shapes out of the end, like pictured below, then unfold one time.
Cut a small slit on the non-folded edge for the clothespin to slide into, as pictured.
Add some googly eyes to your clothespin, and use a white colored pencil or silver Sharpie to draw a smile or fangs if you choose.
Assemble your bat by putting the clothespin into the slit, and voila! An adorable little bat.
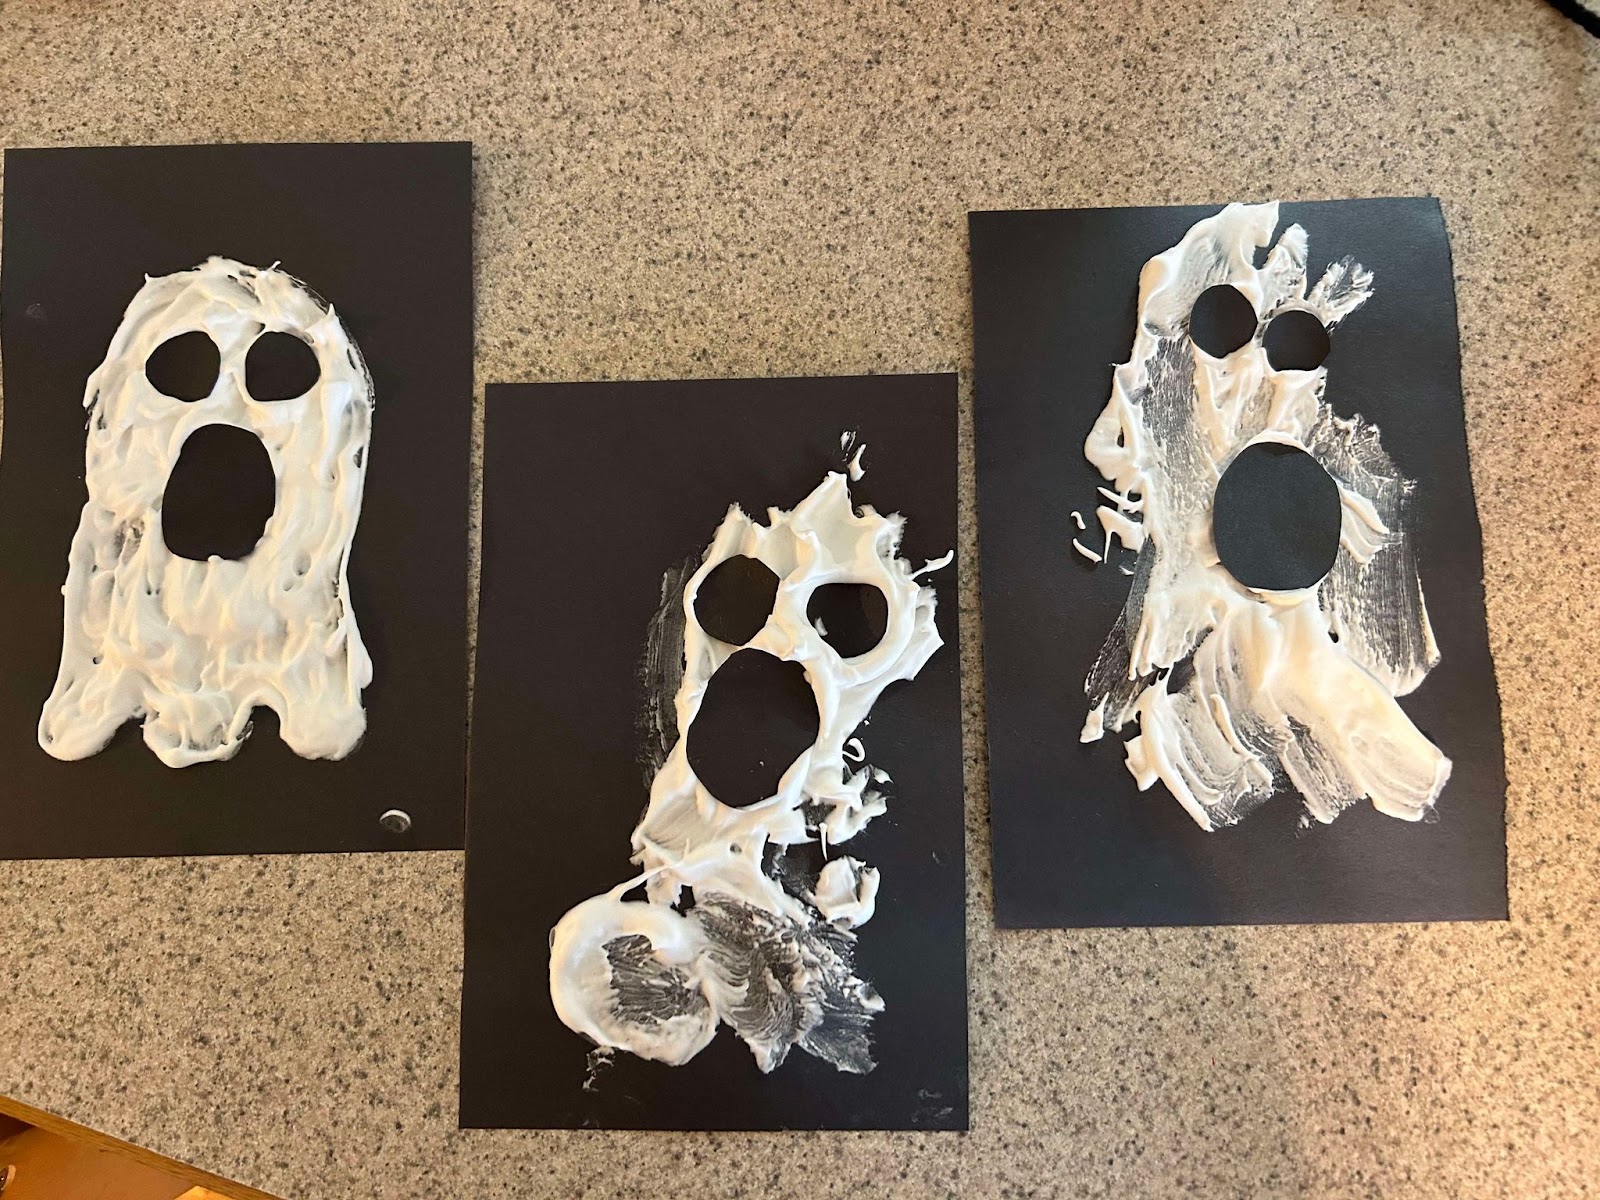
Puffy Paint Ghosts
This craft was hands down the EASIEST craft I have ever done with my girls. Minimal materials, and the simplest of directions, even my 16-month-old was able to do it all on her own!
All you need is: glue, shaving cream, and black construction paper.
Step 1: mix one part school glue, with one part shaving cream. This creates puffy paint!
Step 2: use a paint brush to paint any shape onto black construction paper

Step 3: cut shapes out of another sheet of black construction paper. Circles and ovals make the most “ghost like” faces, but feel free to get creative!
Step 4: allow your child to put the shapes onto their white puffy paint. They will stick because the mixture already contains glue.
Allow a full day to dry and enjoy!
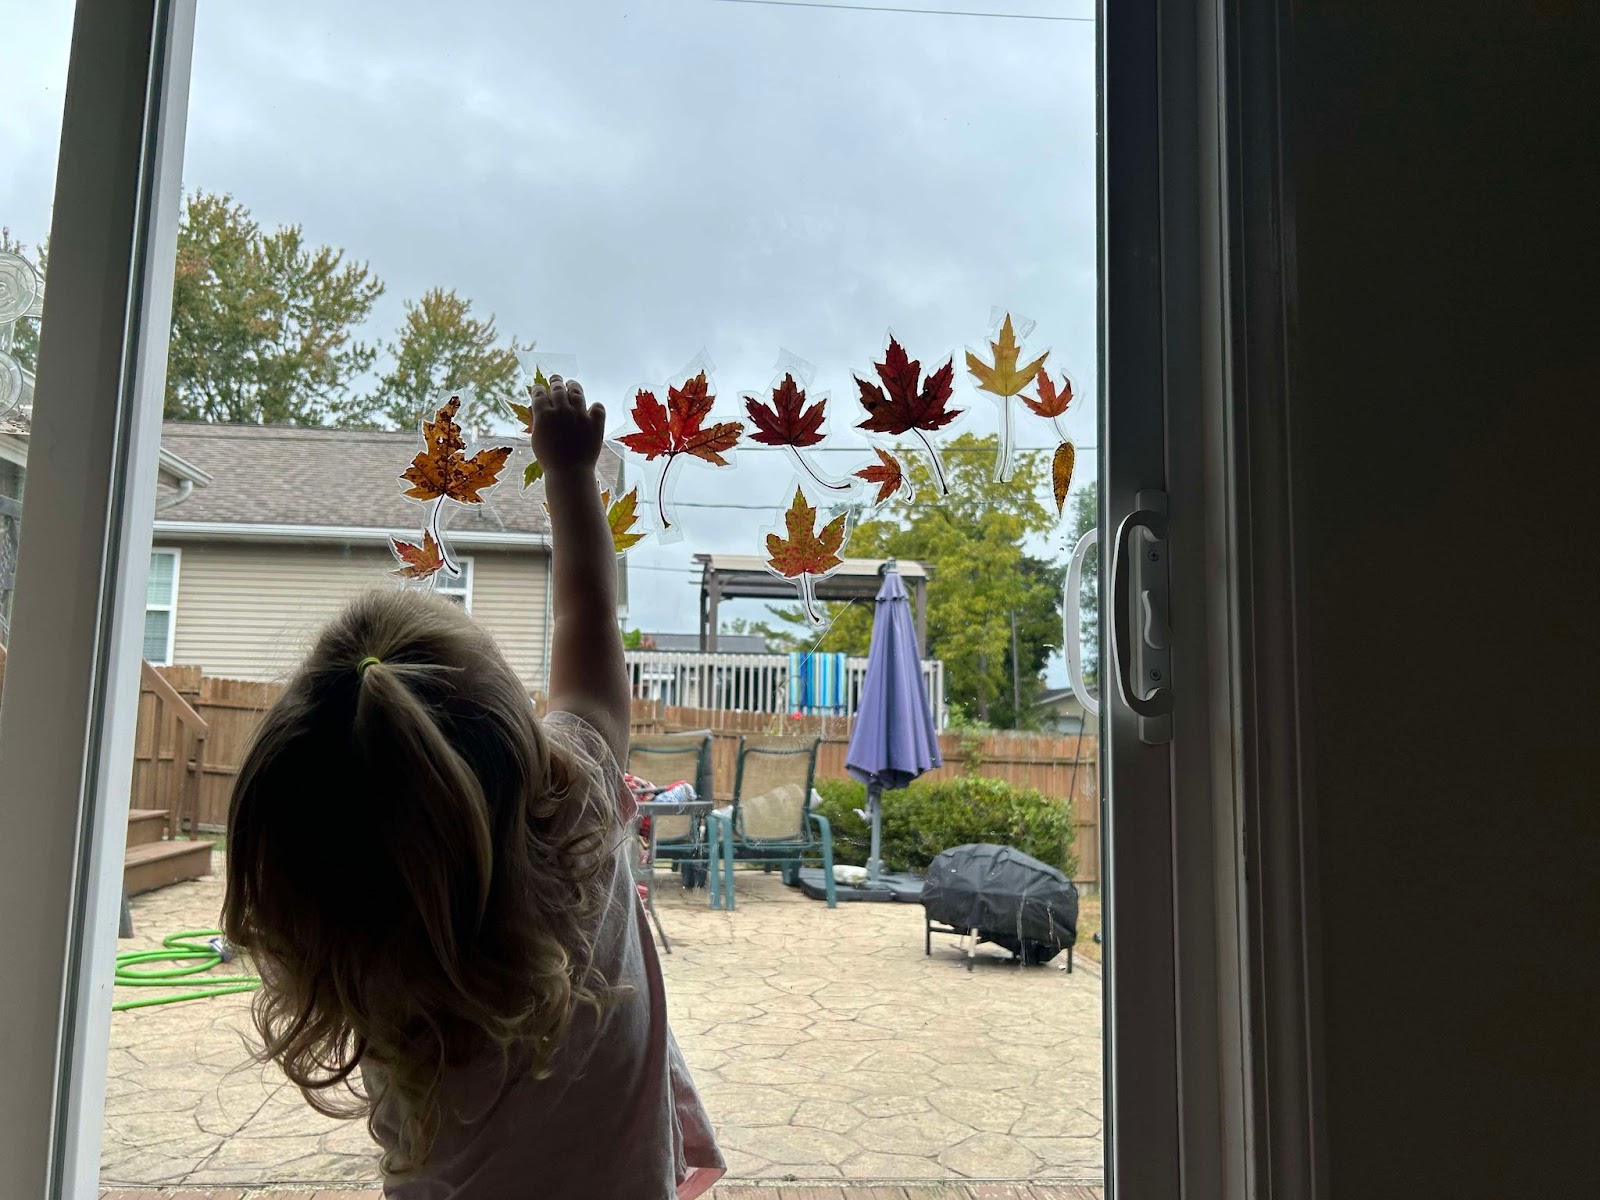
Fall Leaf Window Clings
This is another classic fall craft/activity I remember doing when I was a child. Now that the leaves are changing, it’s the perfect time to collect all of the prettiest leaves! I took my daughters to the Fort Gratiot Trail where there were so many beautiful options. My oldest absolutely loved running around and finding her favorites! We brought them home, and sorted through our best finds. When I was a kid, I remember putting the leaves in between pieces of wax paper and using an iron to keep them together. This is a great way to preserve the leaves, but I recently bought a laminator, so I wanted to try that out. The laminator did an amazing job!
Once I ran them through the laminator, I cut them out and put some tape on the back. My girls hung them on the windows all around the house. I’ve had these leaves in the windows for over 2 weeks now, and they still have their color, and have not dried out or crumbled! I am hoping they will last well into the first snowfall!
Story and photos by Alyssa Dock